Software
Ultimaker Cura
3D system Sense
Tinker cad
Specifications of The Ultimaker Cura
| Variant | Ultimaker Original | Ultimaker 2 Extended |
| Operating heated bed temperature | - | 50°C - 100°C |
| Frame Dimensions | 35.7 cm × 34.2 cm × 38.8 cm | 49.3 cm × 34.2 cm × 68.8 cm |
| Printer technologFused Filament Fabrication (FFF) | ||
| Software: Cura |
For printing the group assignment we used the design from Mr.Juan site to characterize the 3D printer and the Ultimaker 3D printer to print our design.
Group assignment(Read more about the group assignment)
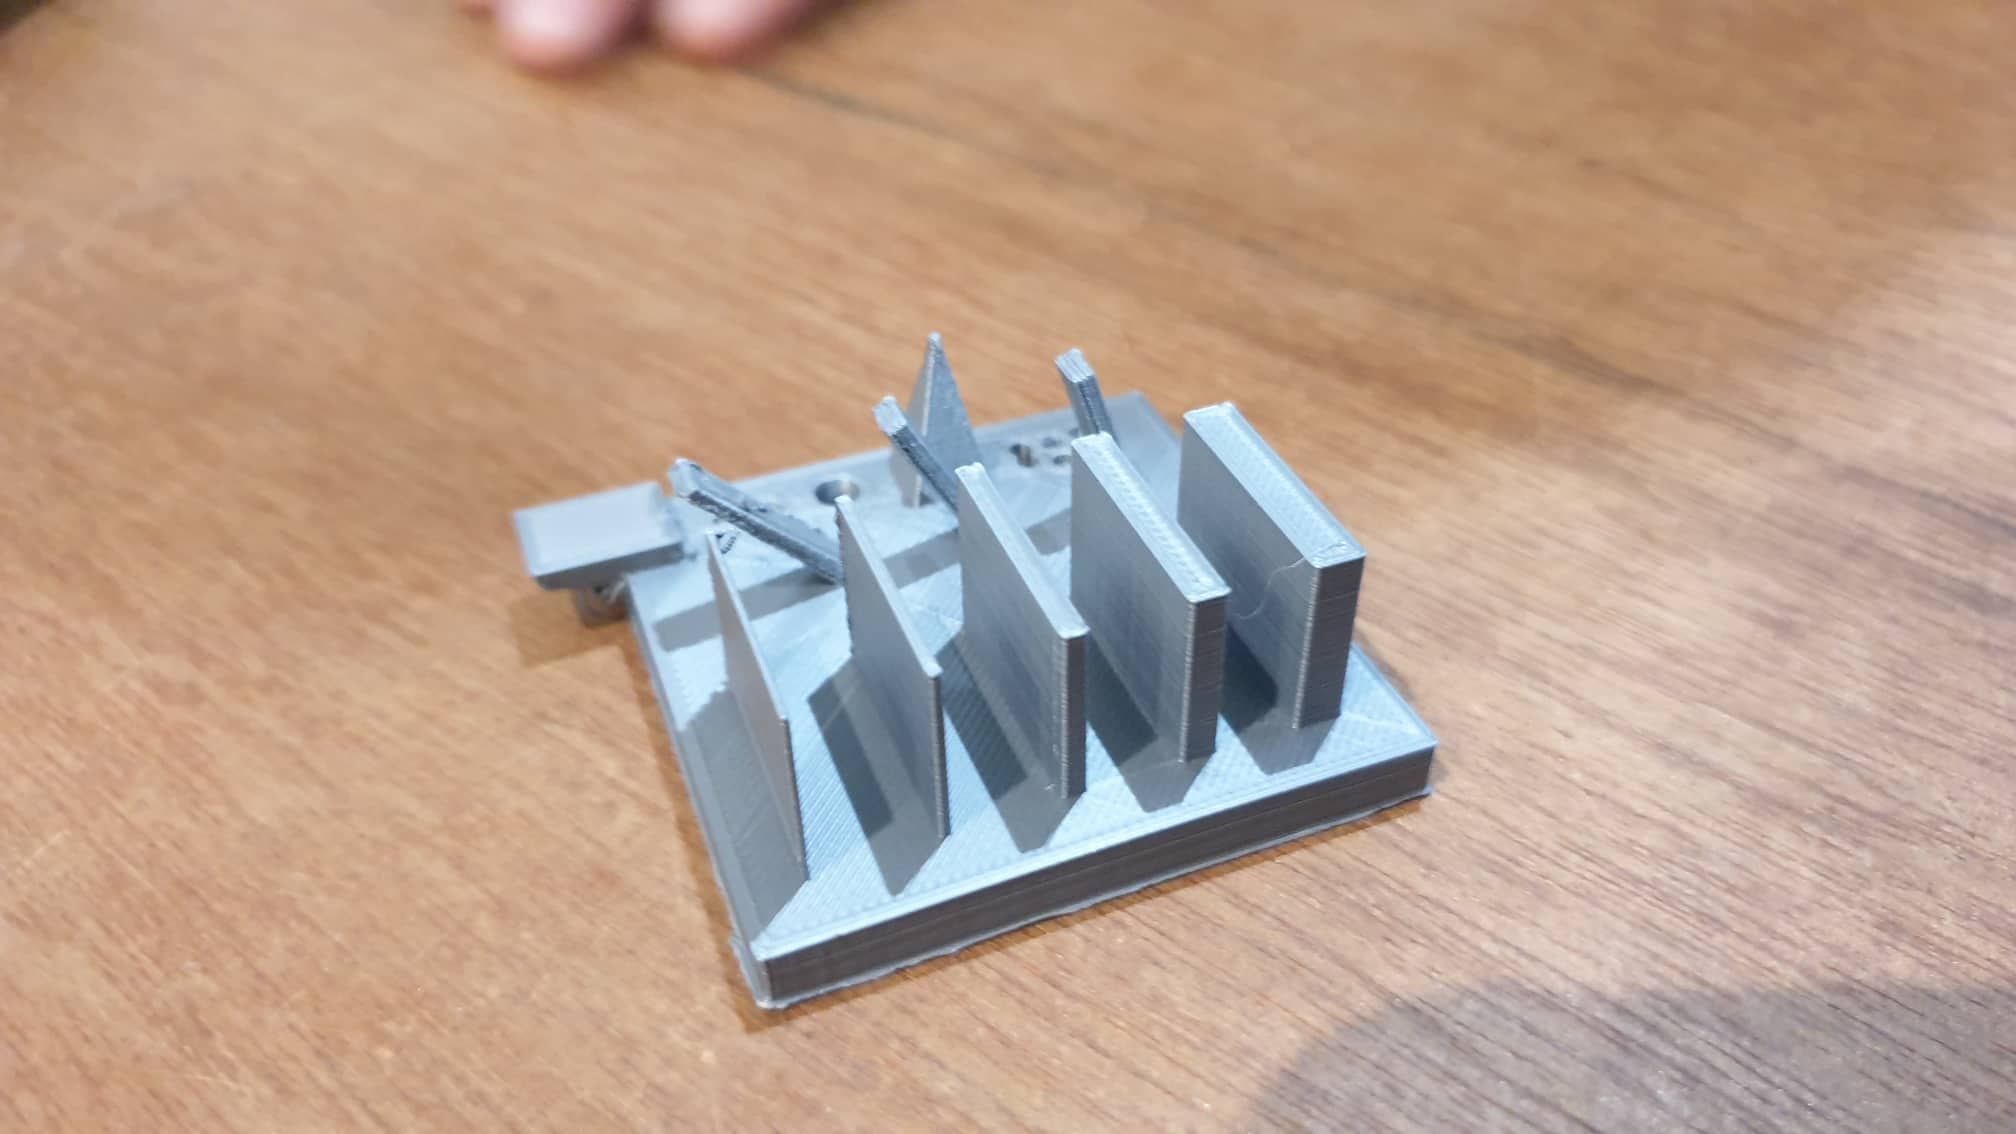
For our group assignment we must characterize the design rules of our 3D printer.
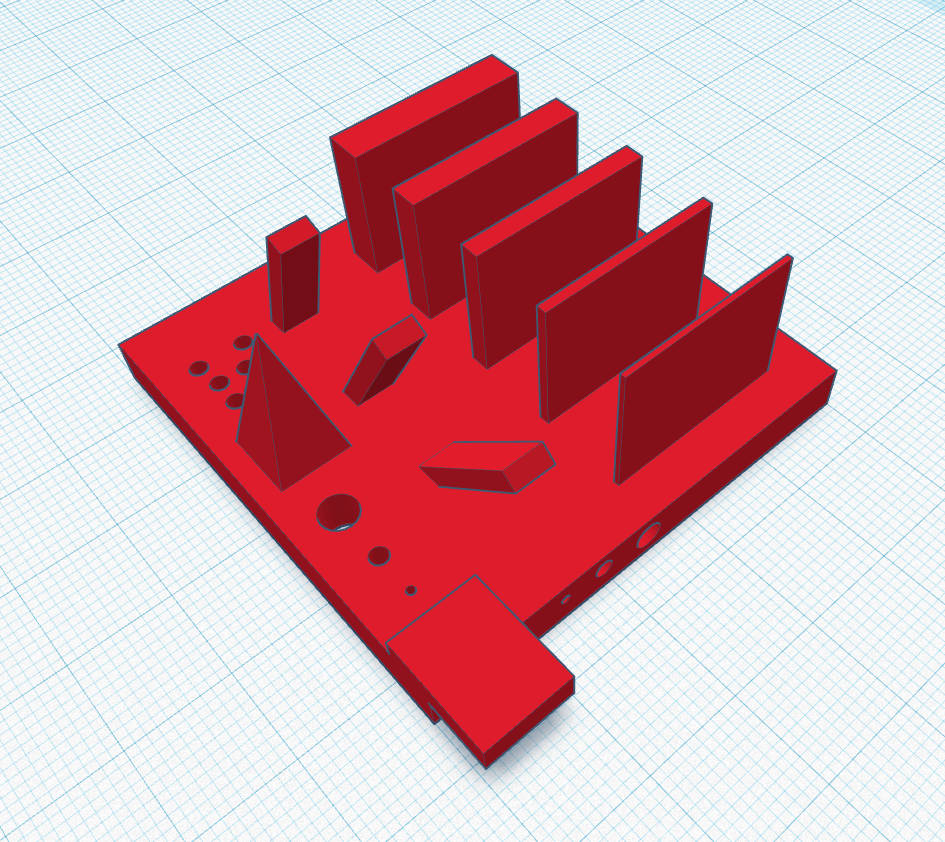
This part has:
1.Walls of different thicknesses (from 0,5 mm to 4 mm)
2.Round holes with different diameters (from 1 mm to 3 mm)
3.Holes separated by different length spaces (0,1 mm to 2 mm).
4.Inclined and overhanging parts to test possible angles
5.Pointy structure to test material bonding.
Characterize the design rules for the 3D printer
Steps to print :
1.)Create a design in a 3D design software your choice.
2.)Save your file in .stl format
3.)Download Ultimaker Cura and open the .stl file.
4.)Configure the print setup
5.)Insert the memory card and save to file
6.)It will slice your file and then prepare it.
7.)Eject the memory card.
8.)Insert the memory card in Ultimaker Cura.
9.)Insert filament into the nozzle
10.)Select your file on the Ultimaker printer
11.)Press to print
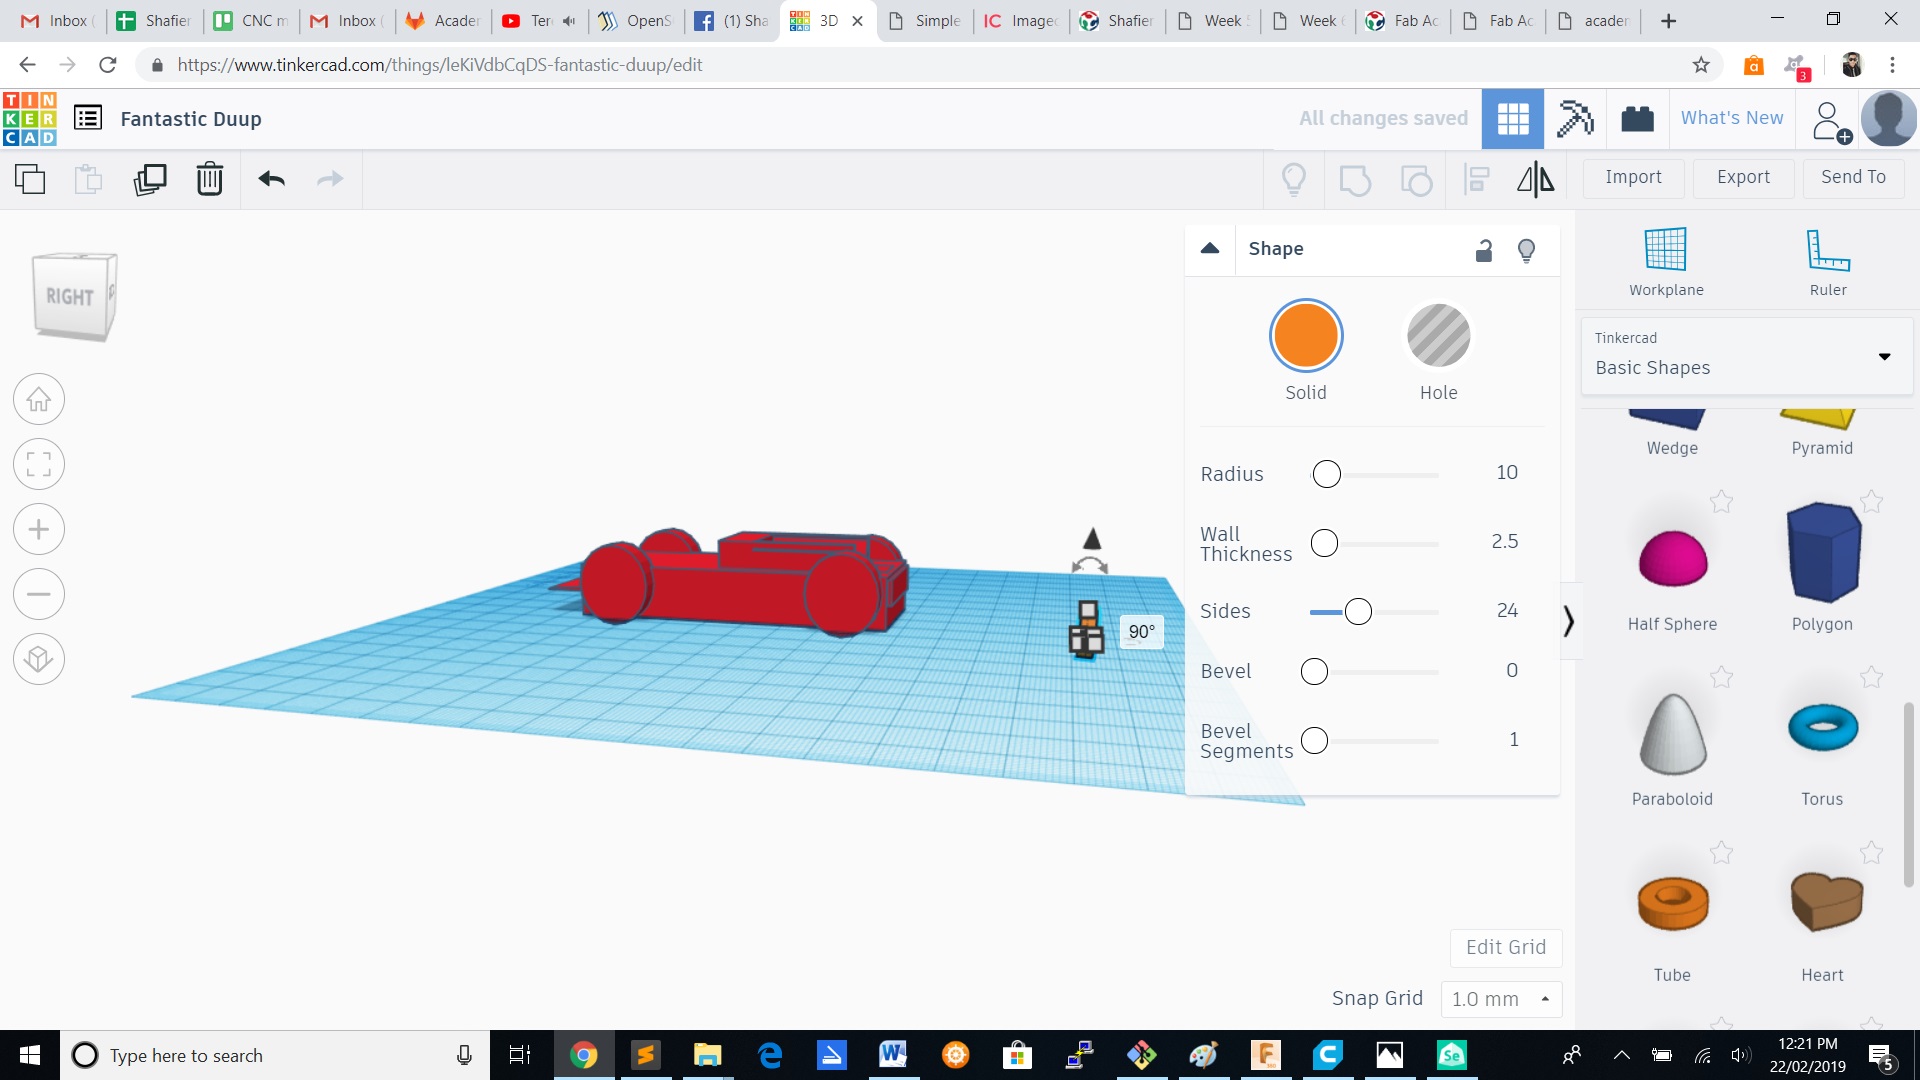
Invidual assignment
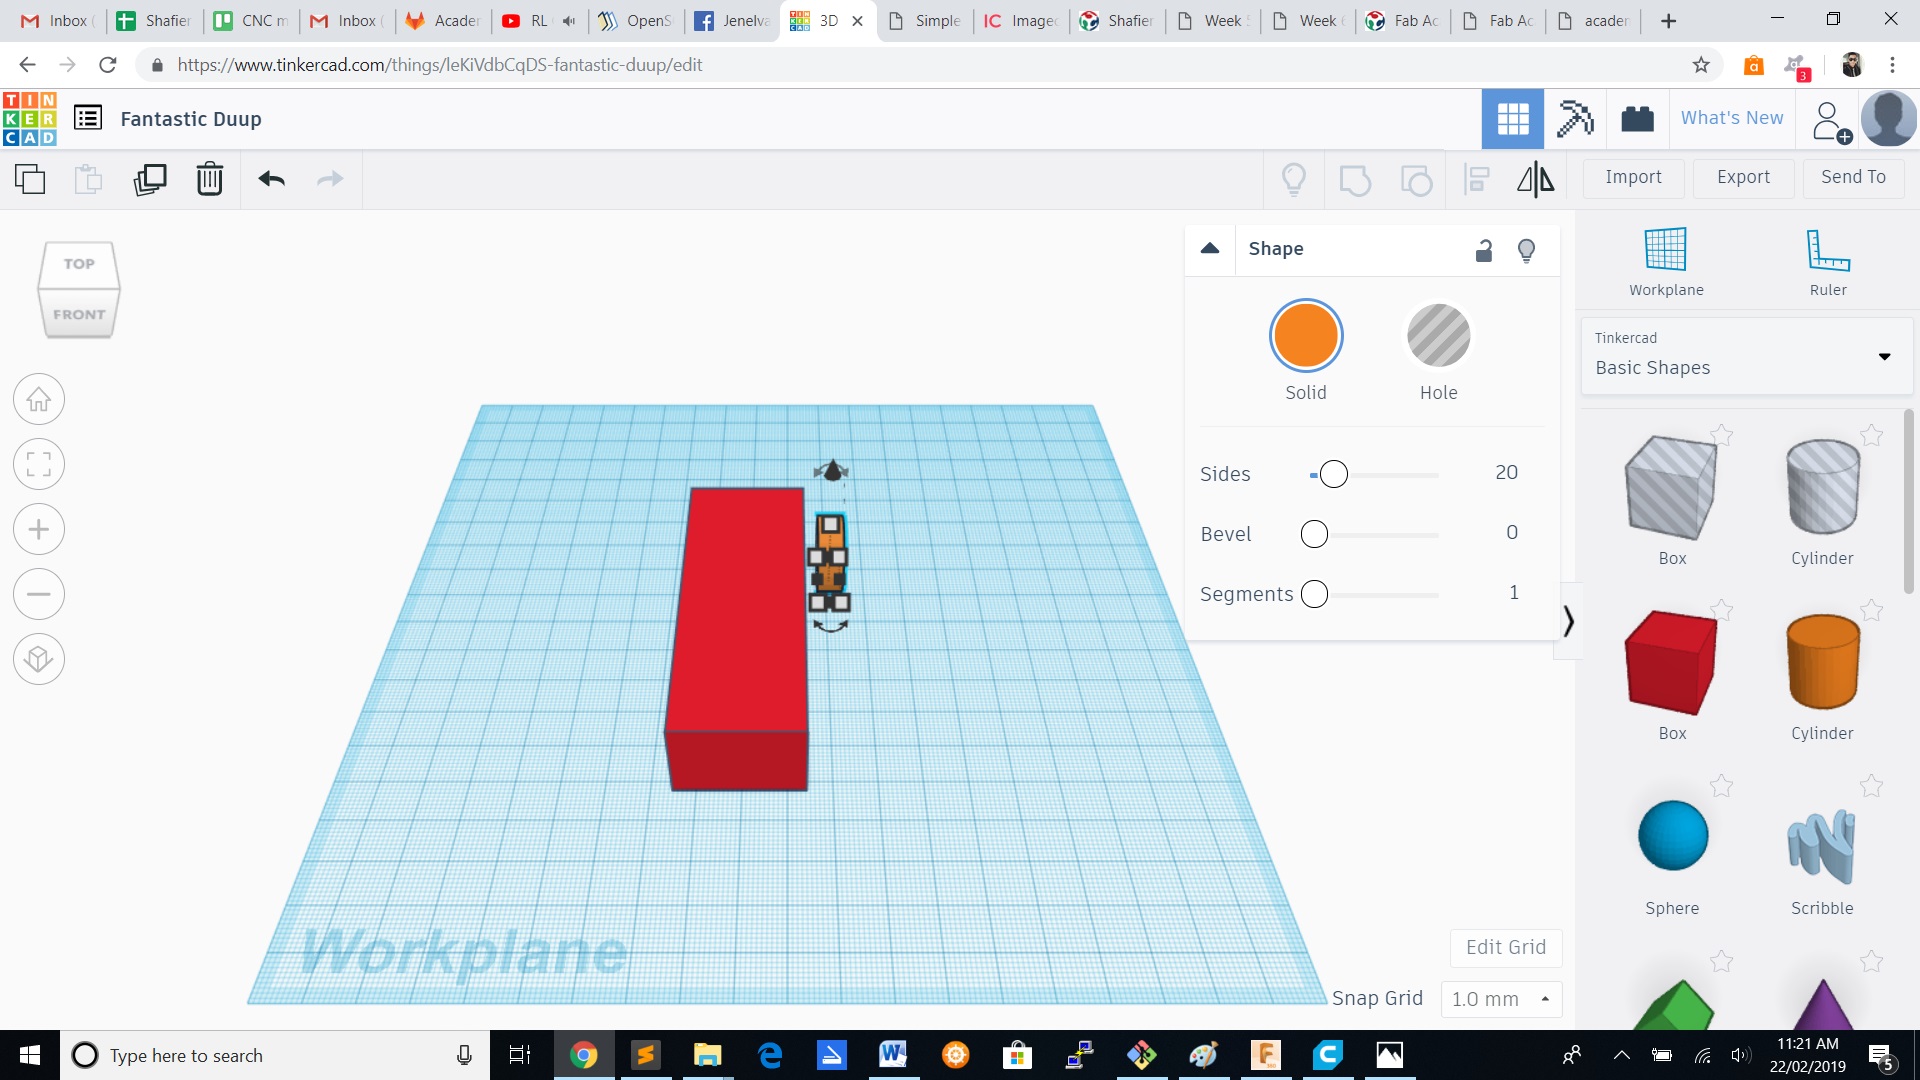
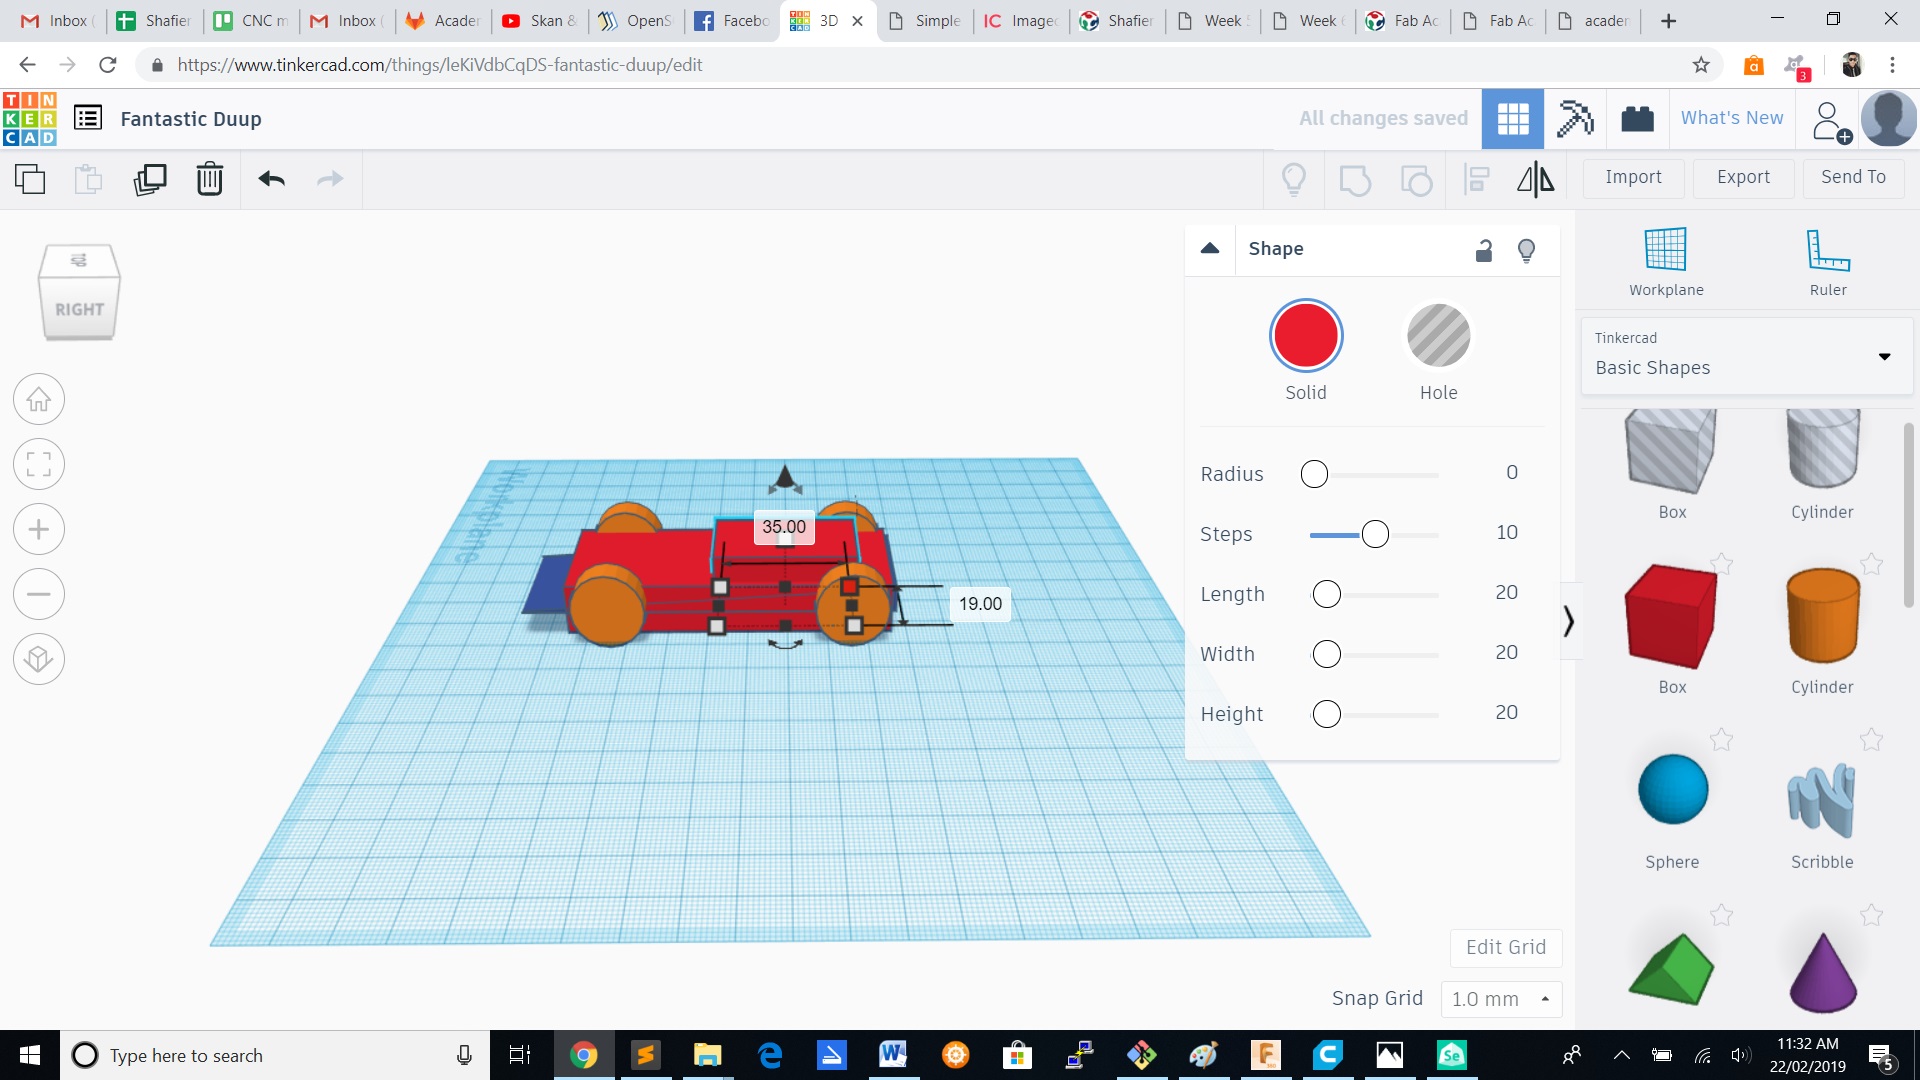
For our invidual assignment make a 3D design and print it.I made my design in Autodesk Tinkercad.Beneath you can follow the process of my design.The shapes i used are :
1.Box
2.Cylinder
3.Wedge
4.Round Roof
5.Half sphere
6.Torus
7.Polygon
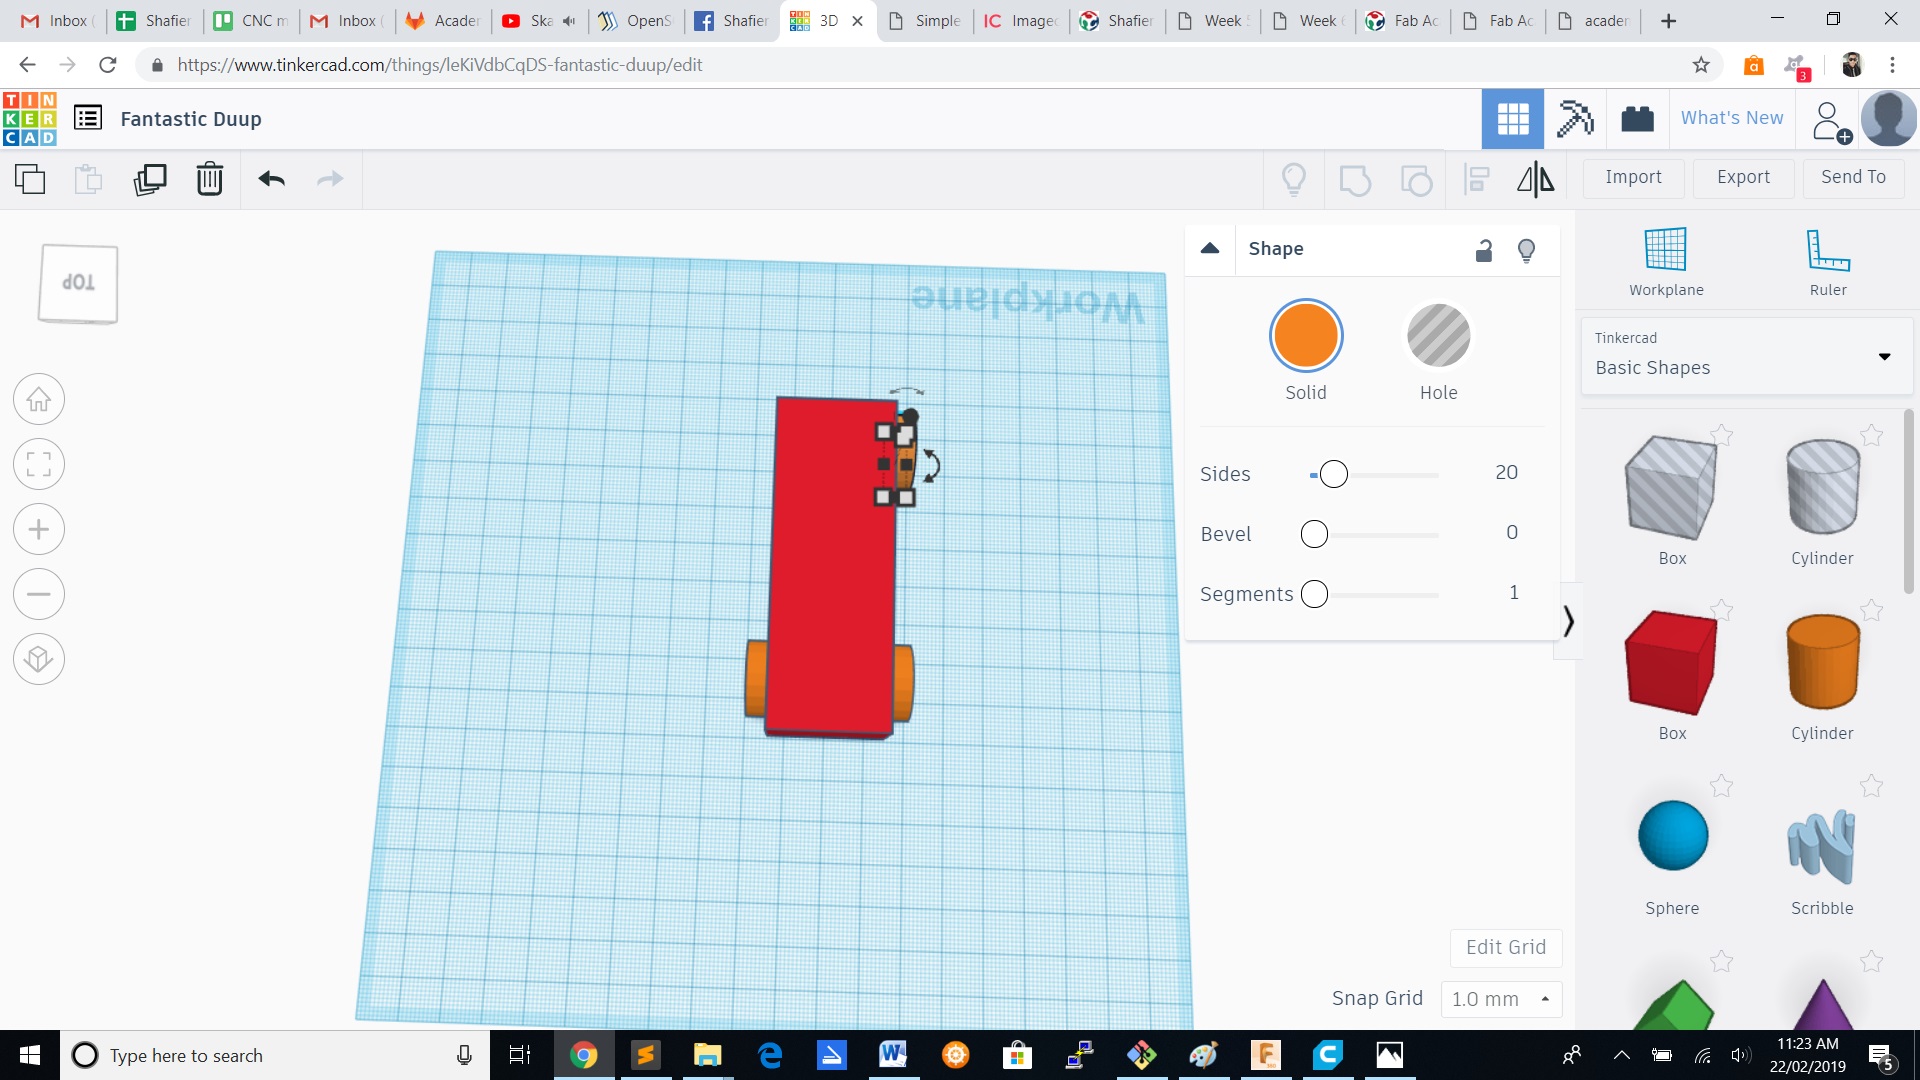
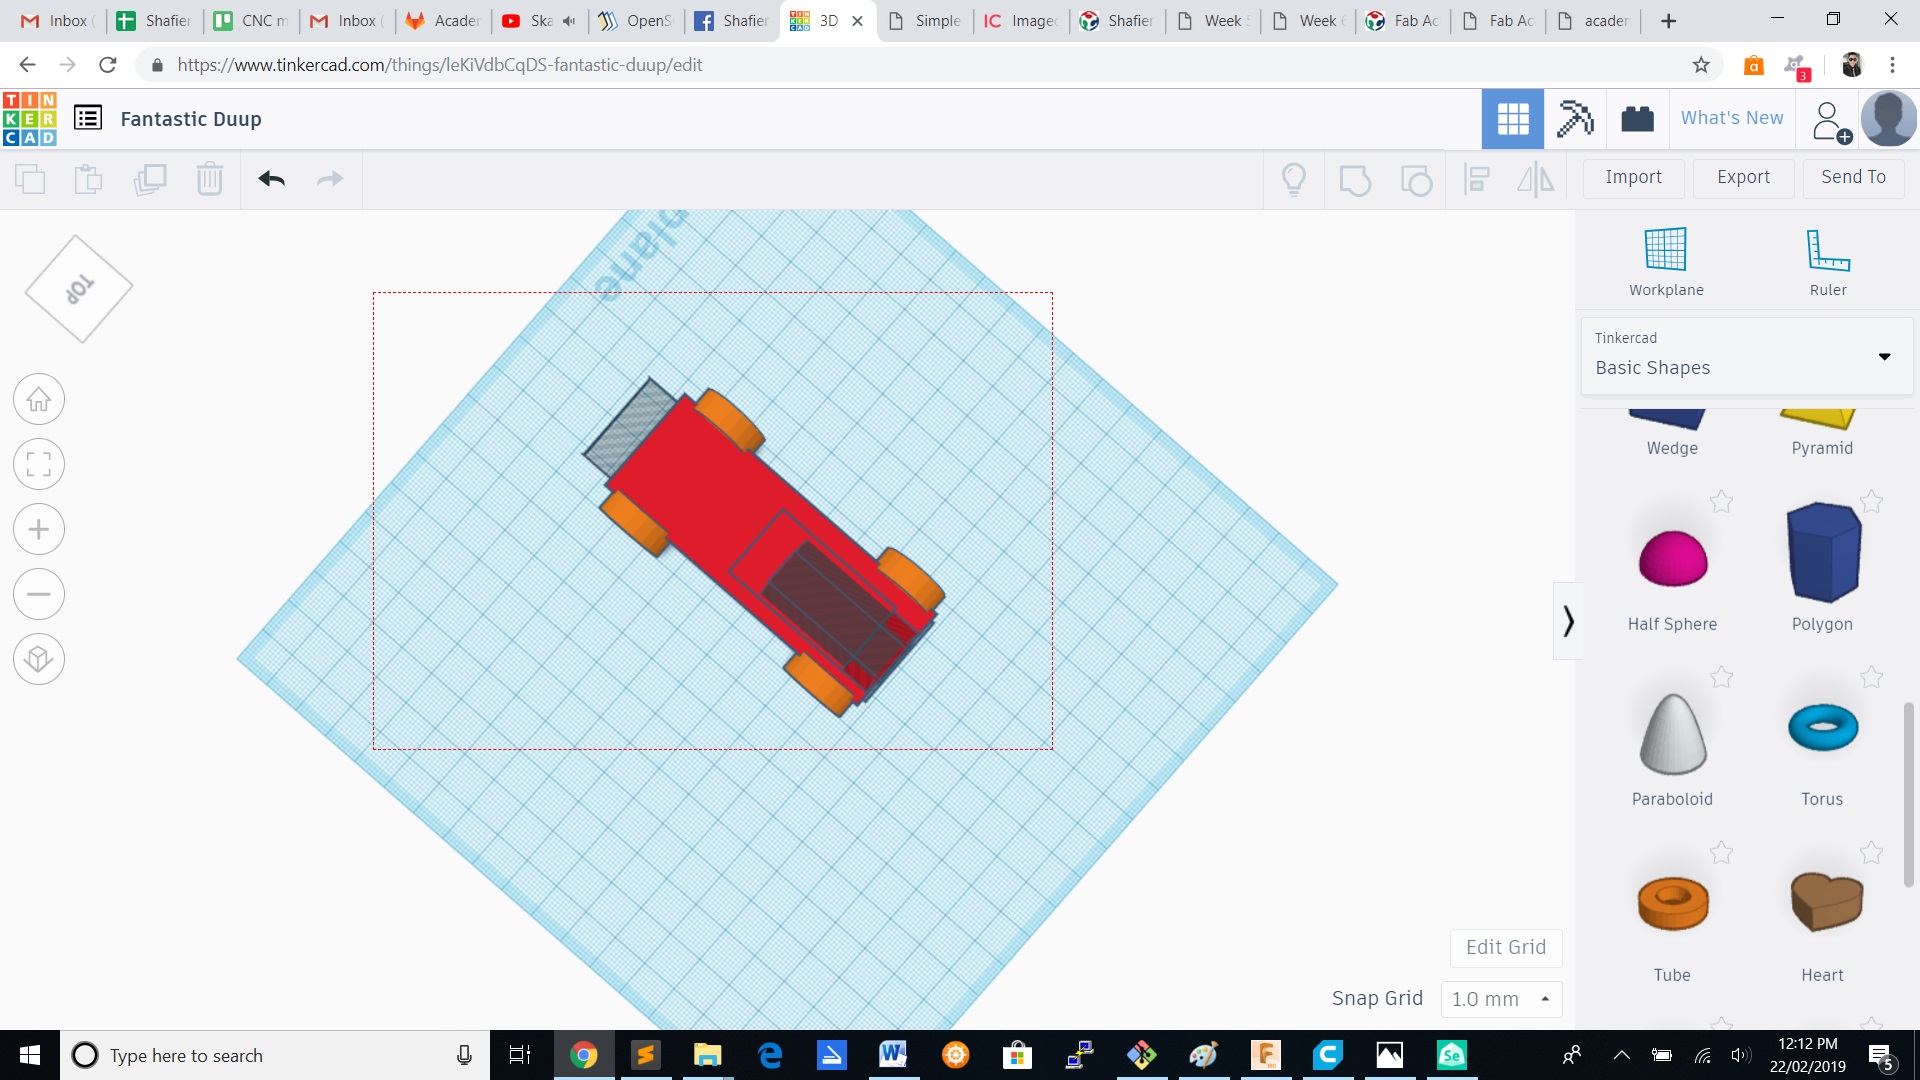
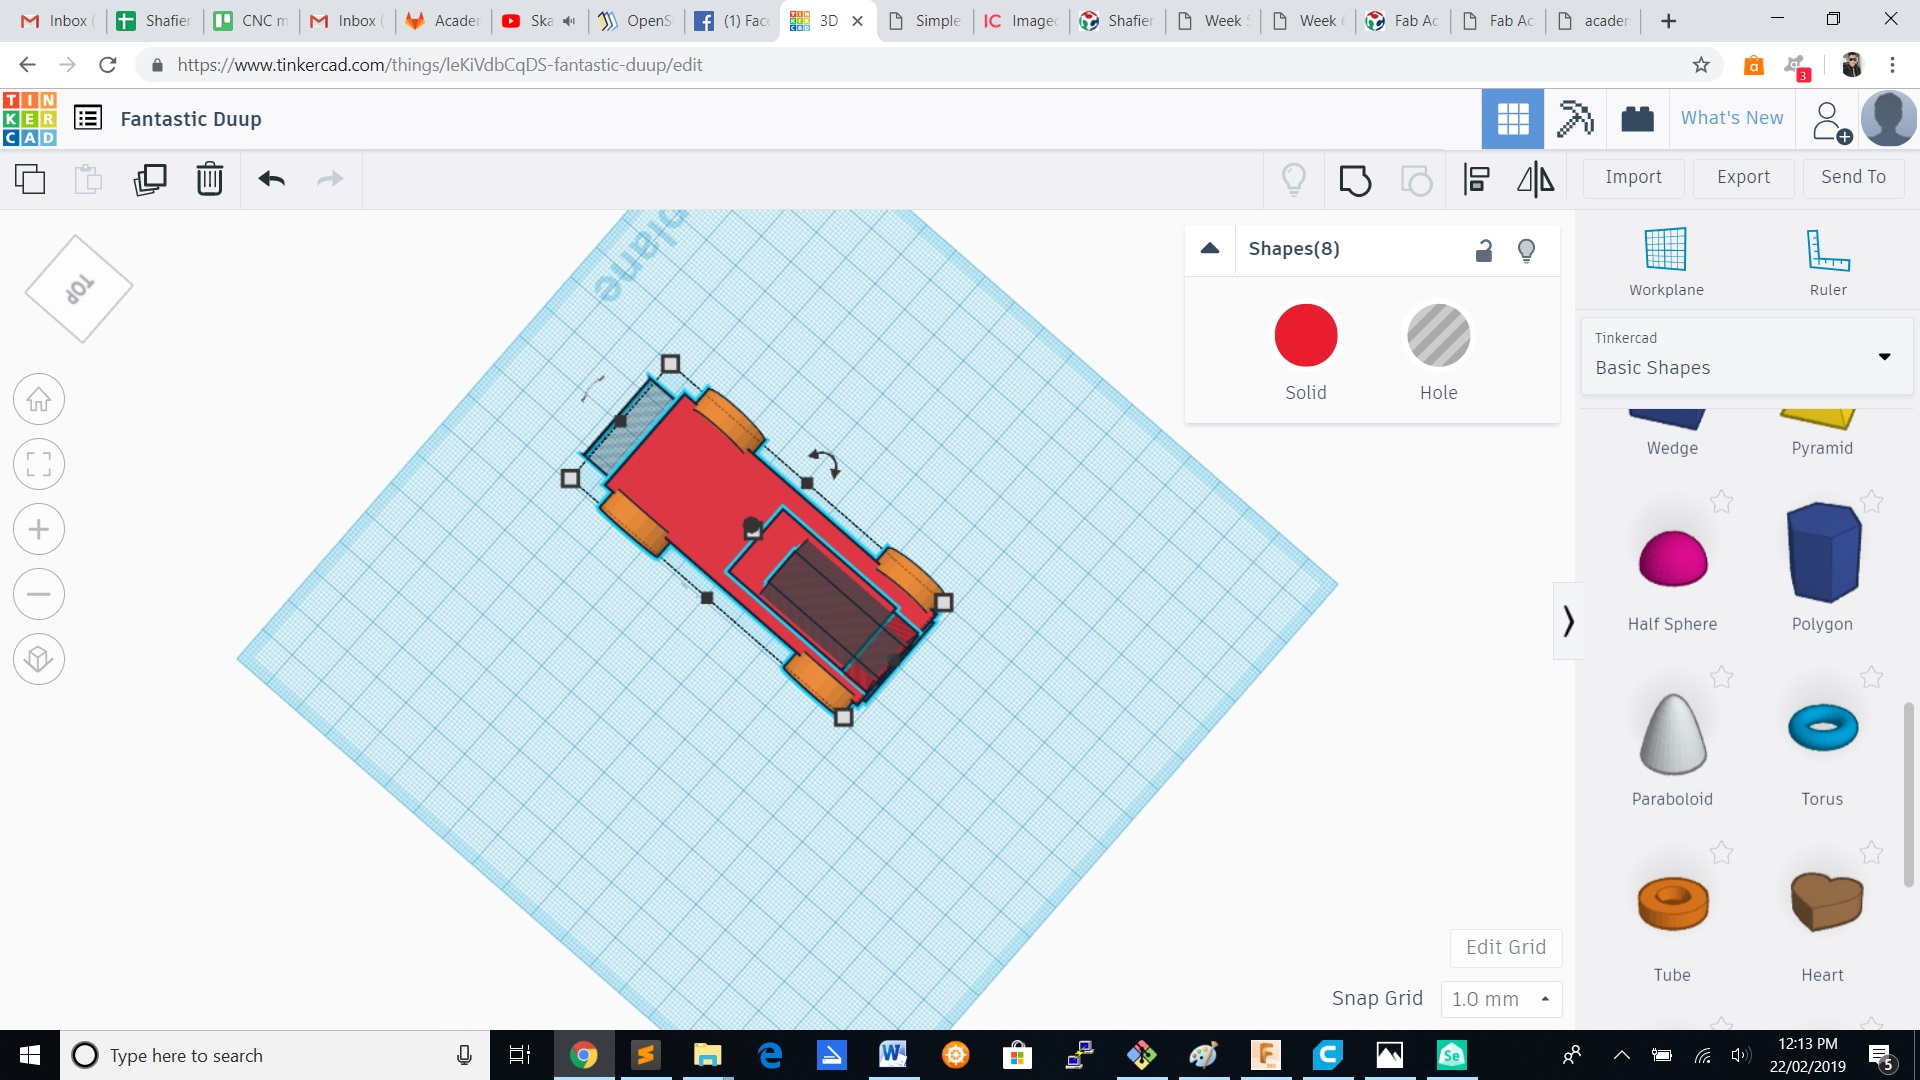
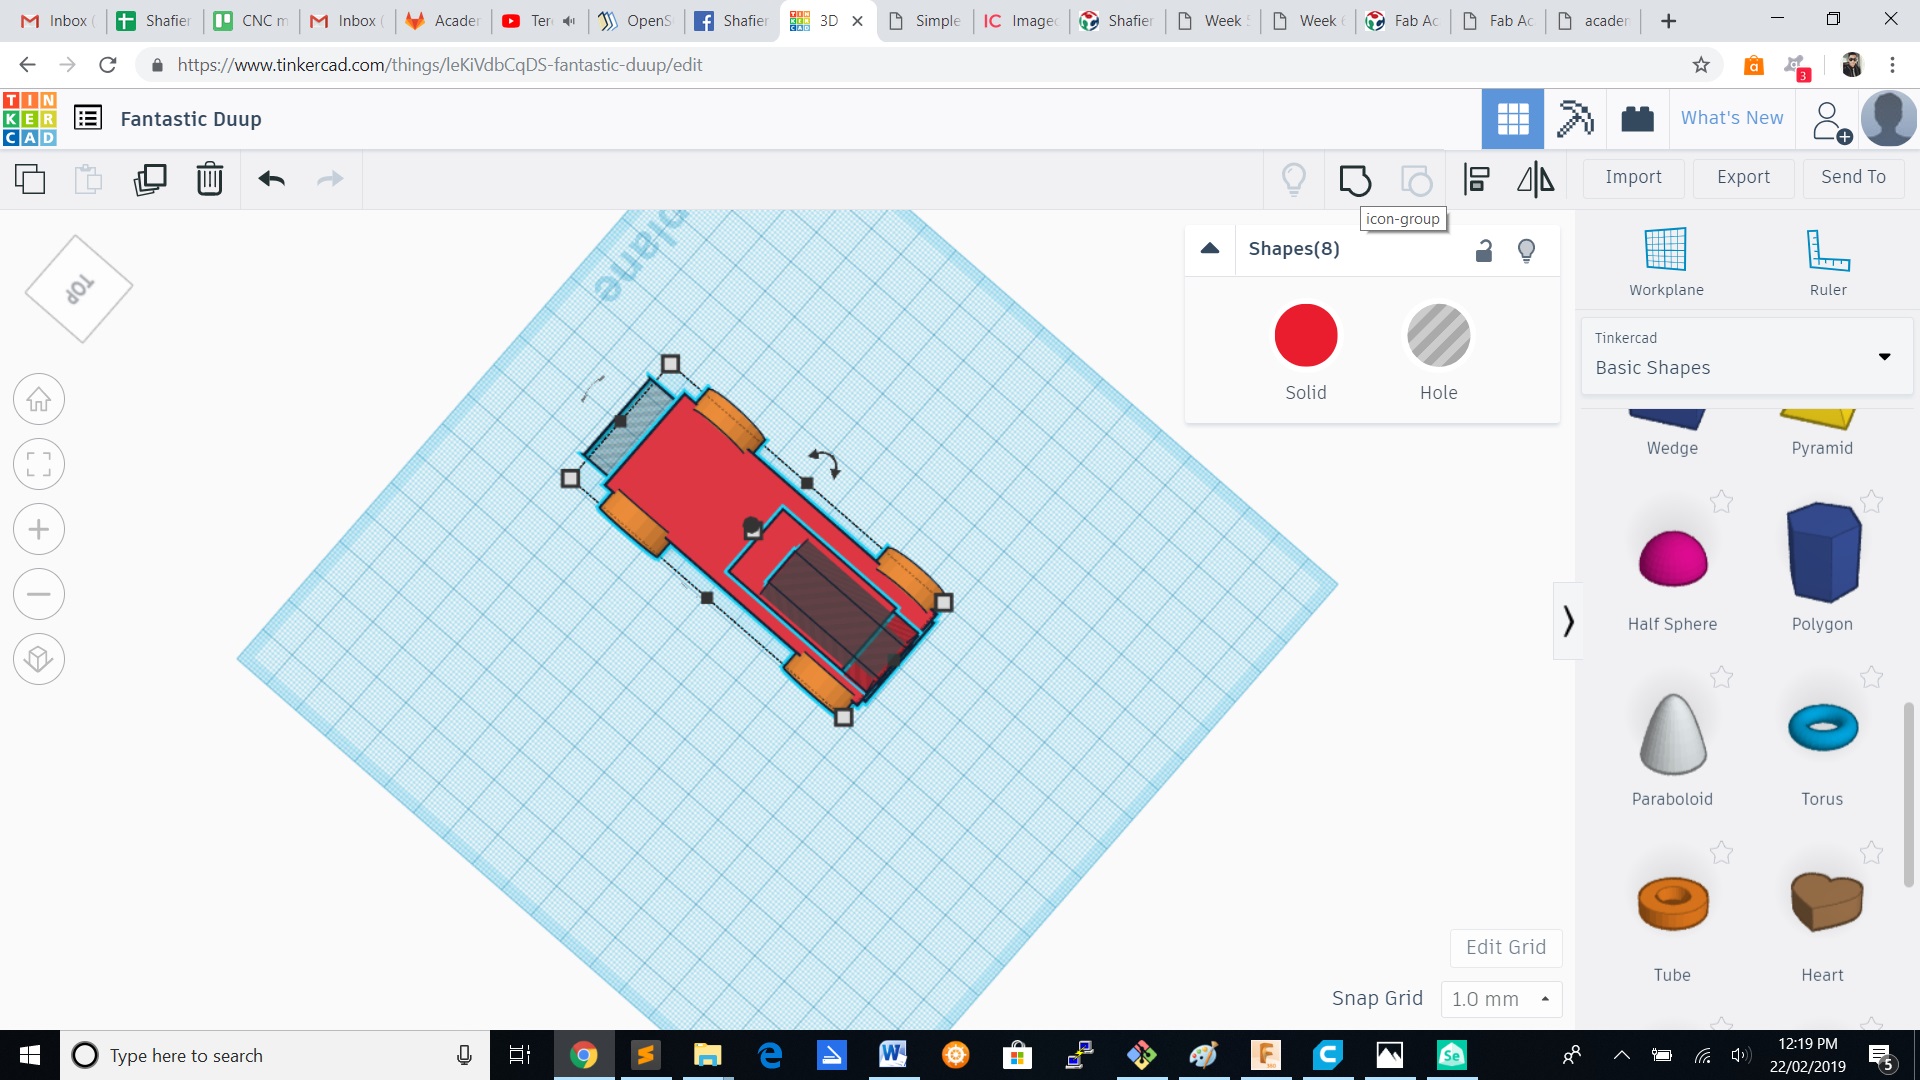
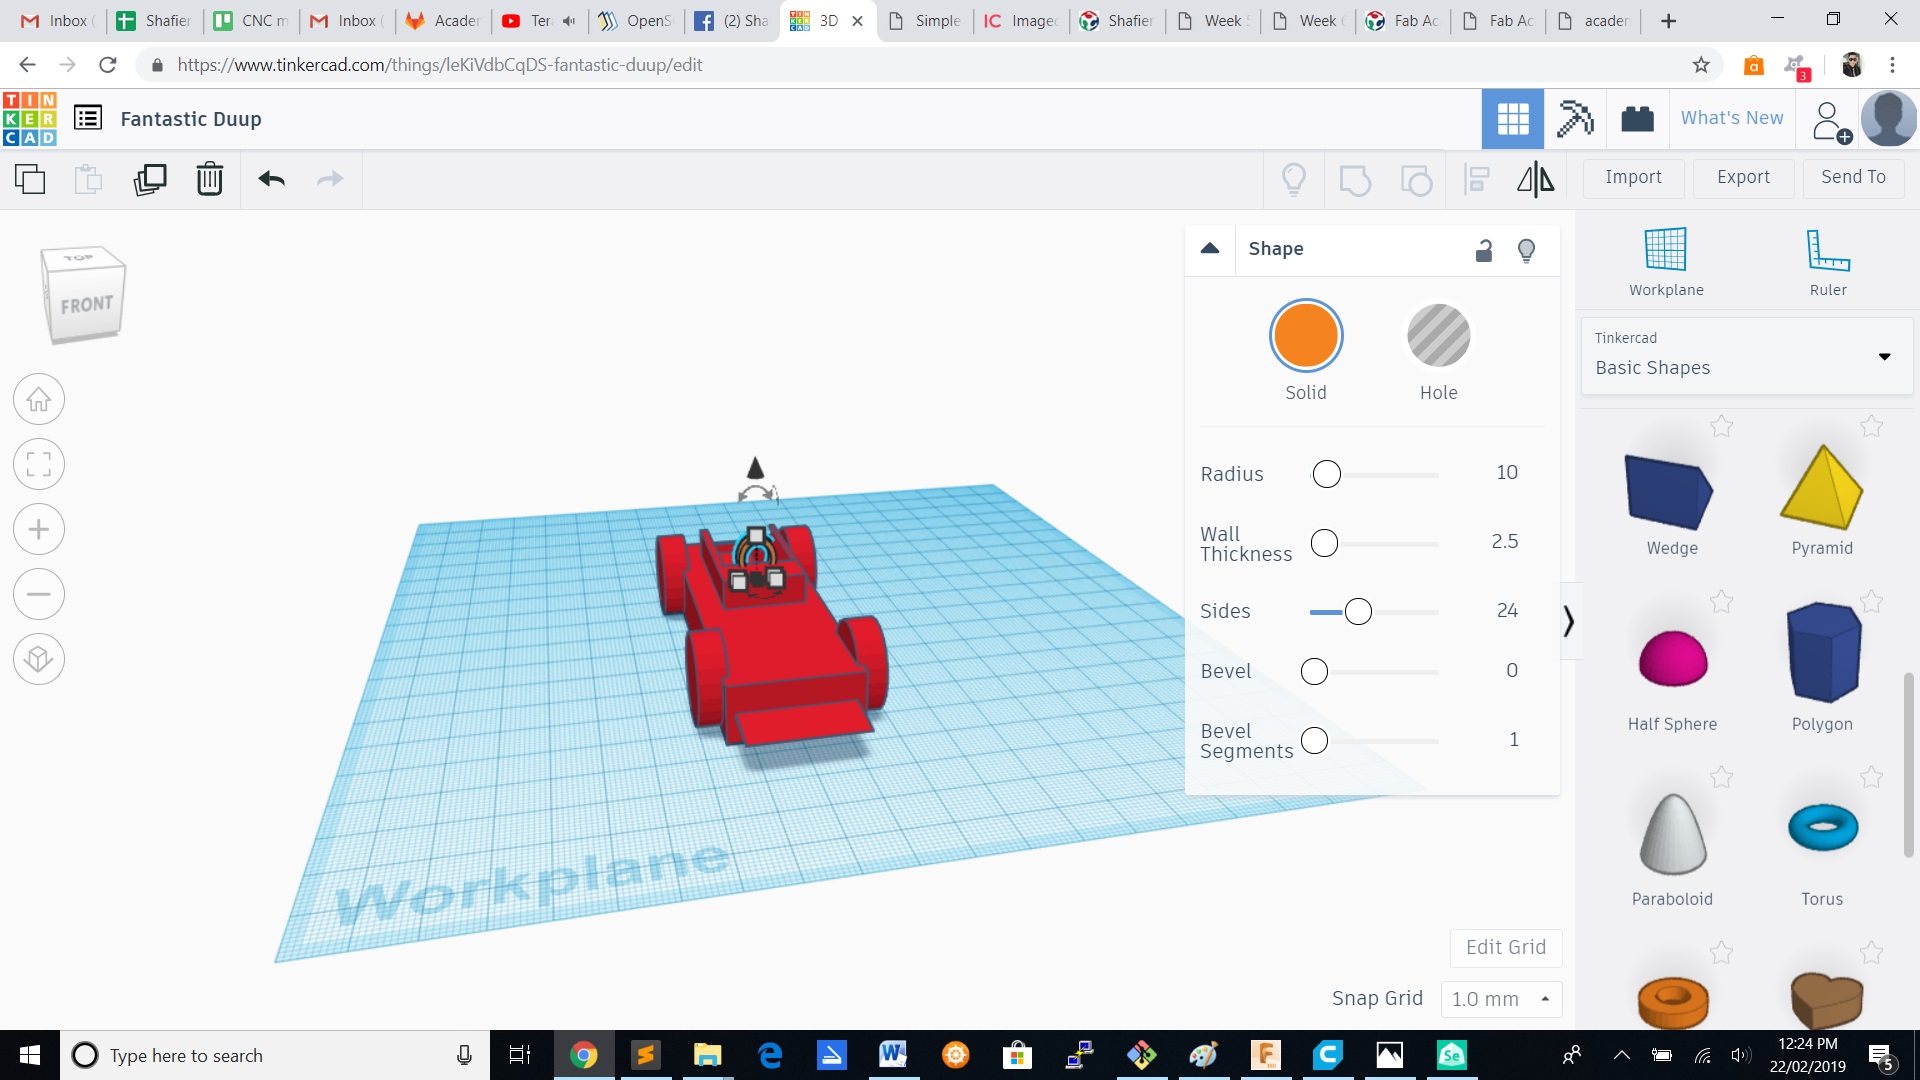
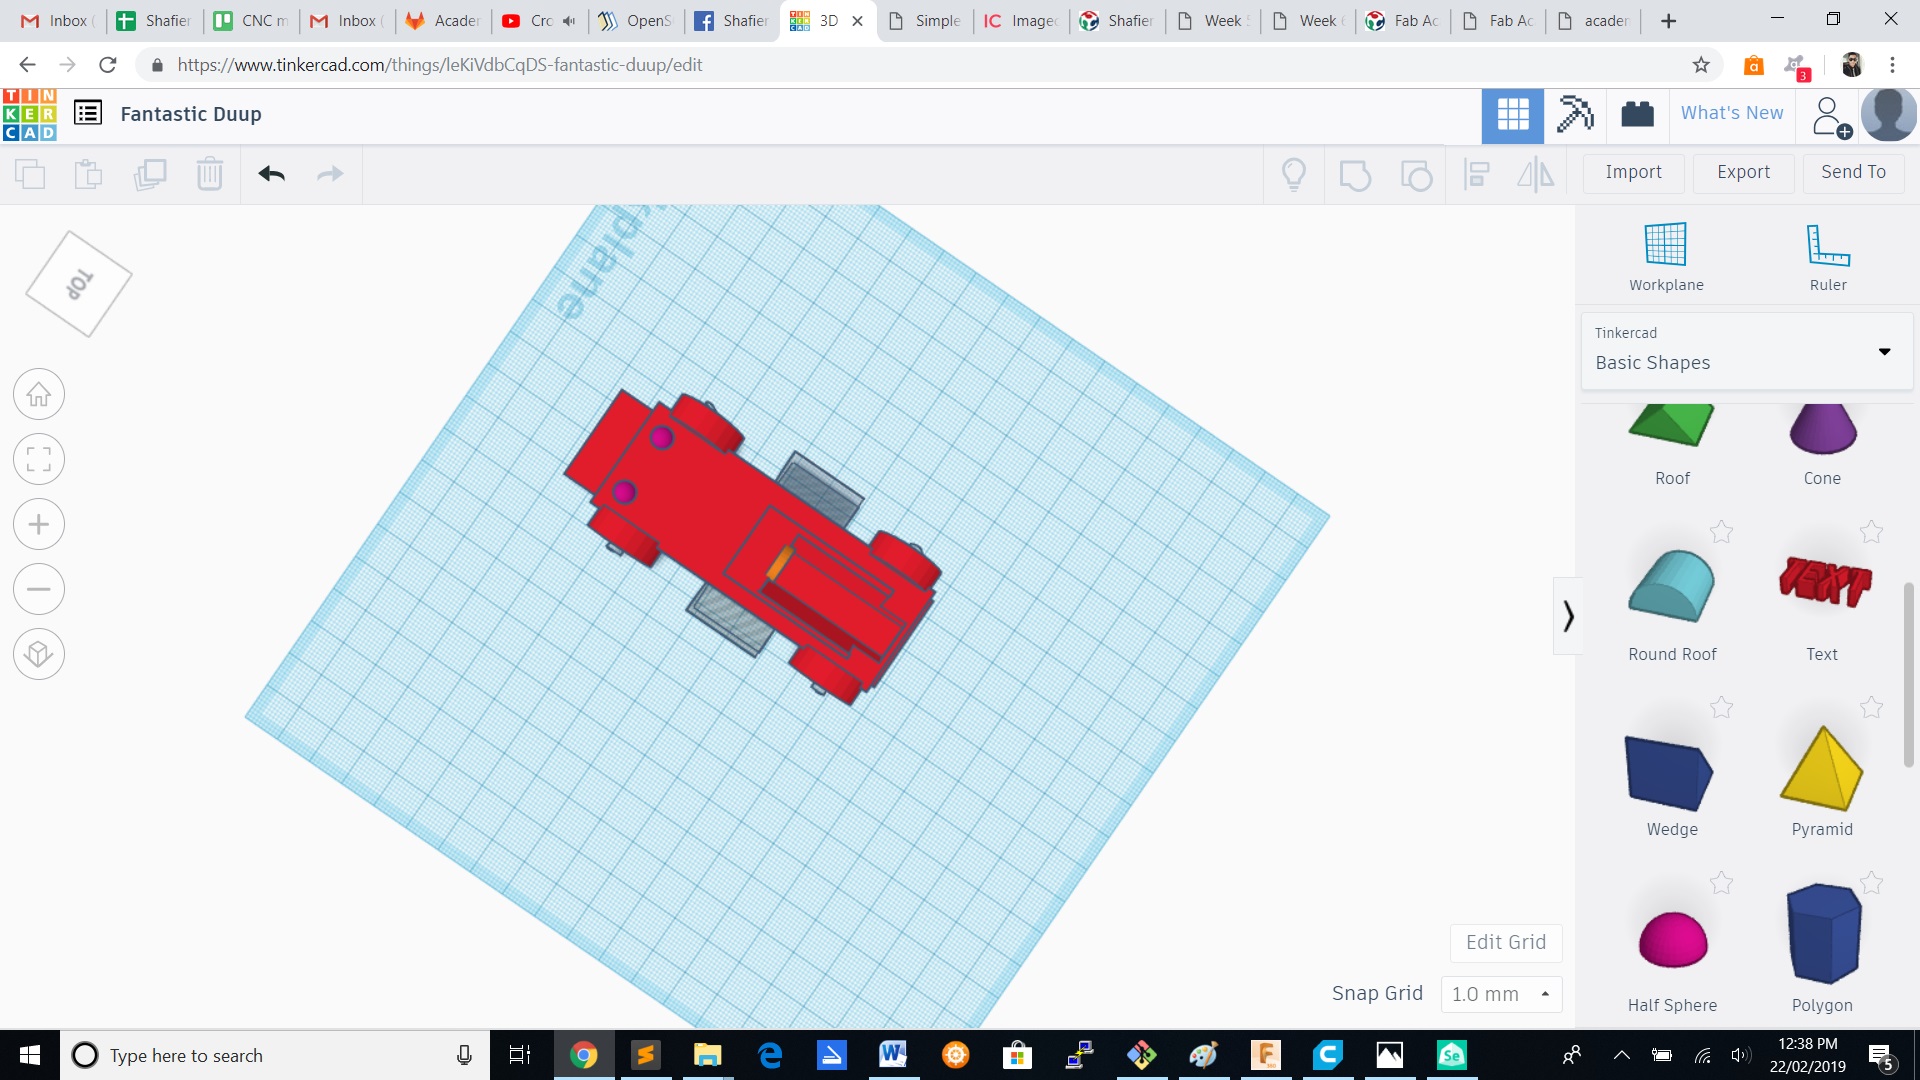
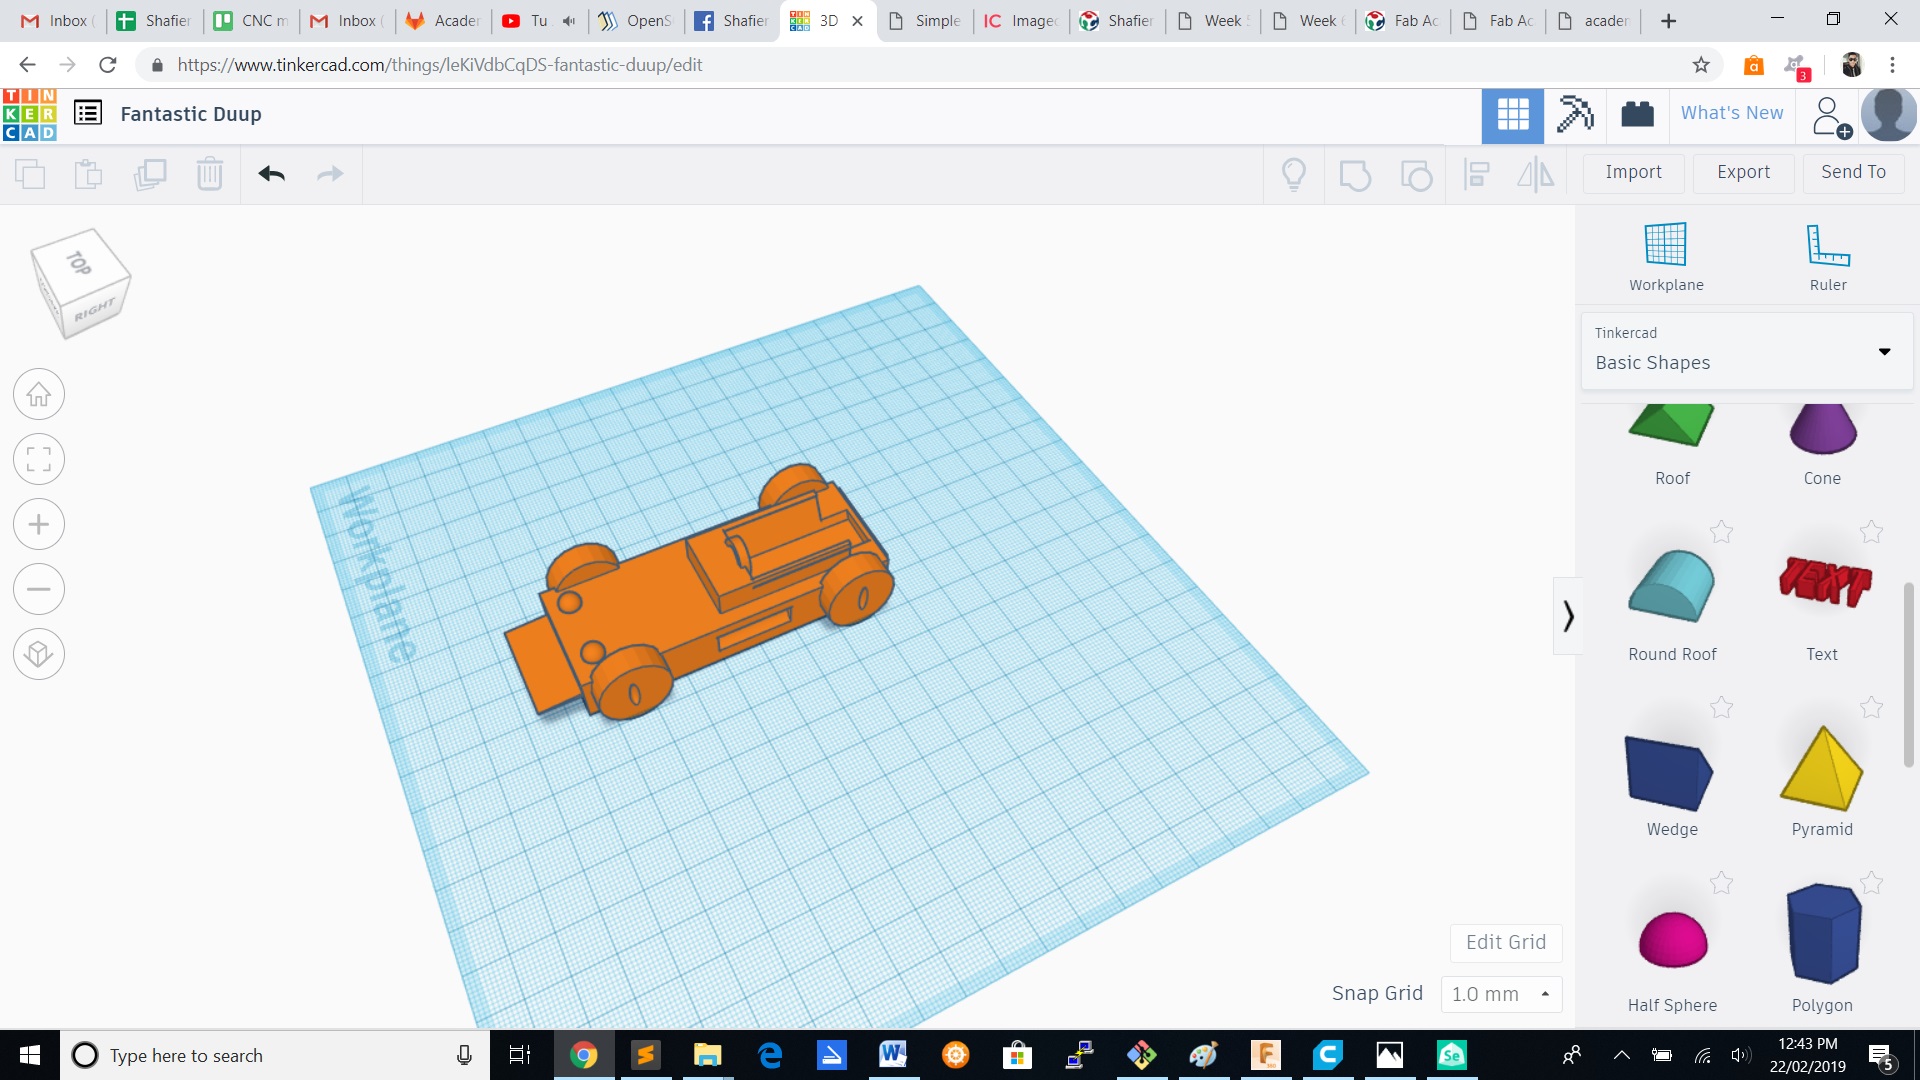

What makes my design cannot be made subtractively is :
1)There are side holes on the wheels that the laser cutter can't go or cut.
2)Also has side cuts on the body that the Lasercutter can't do.
3D printer
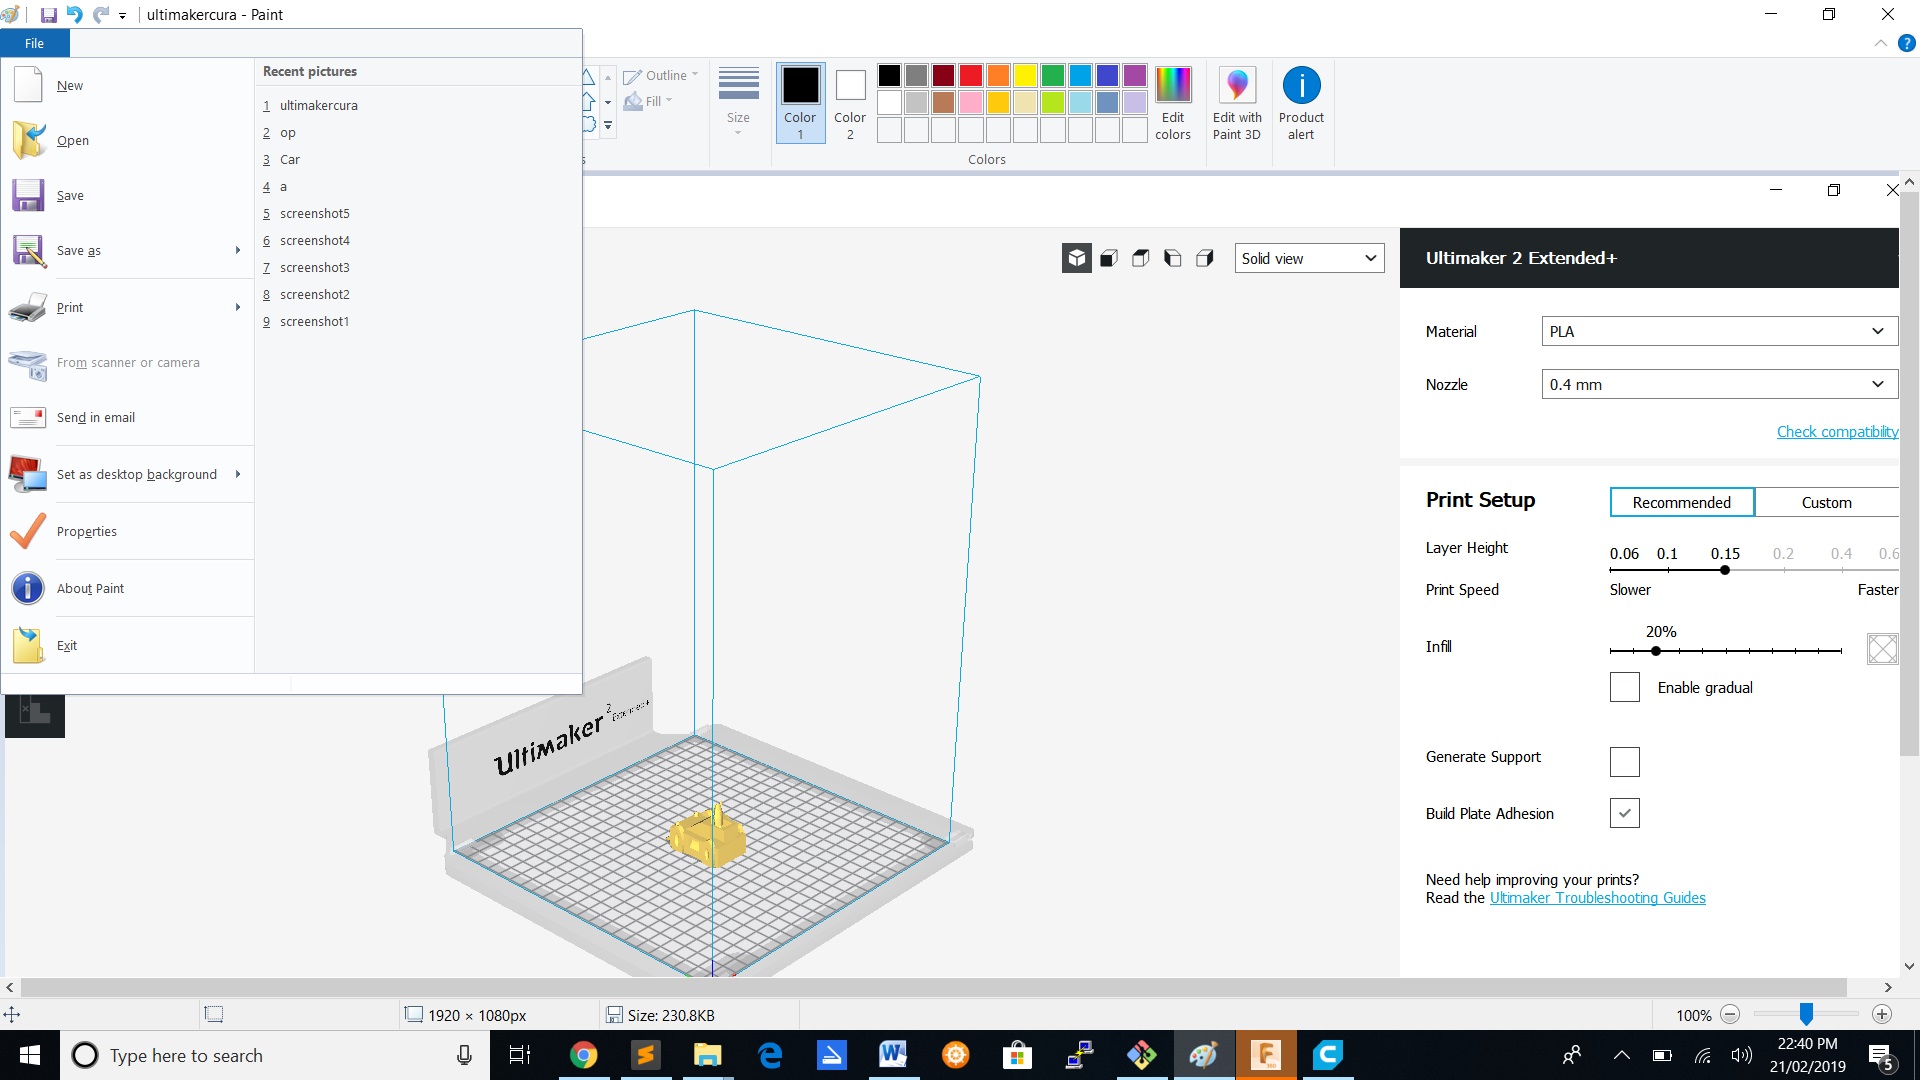
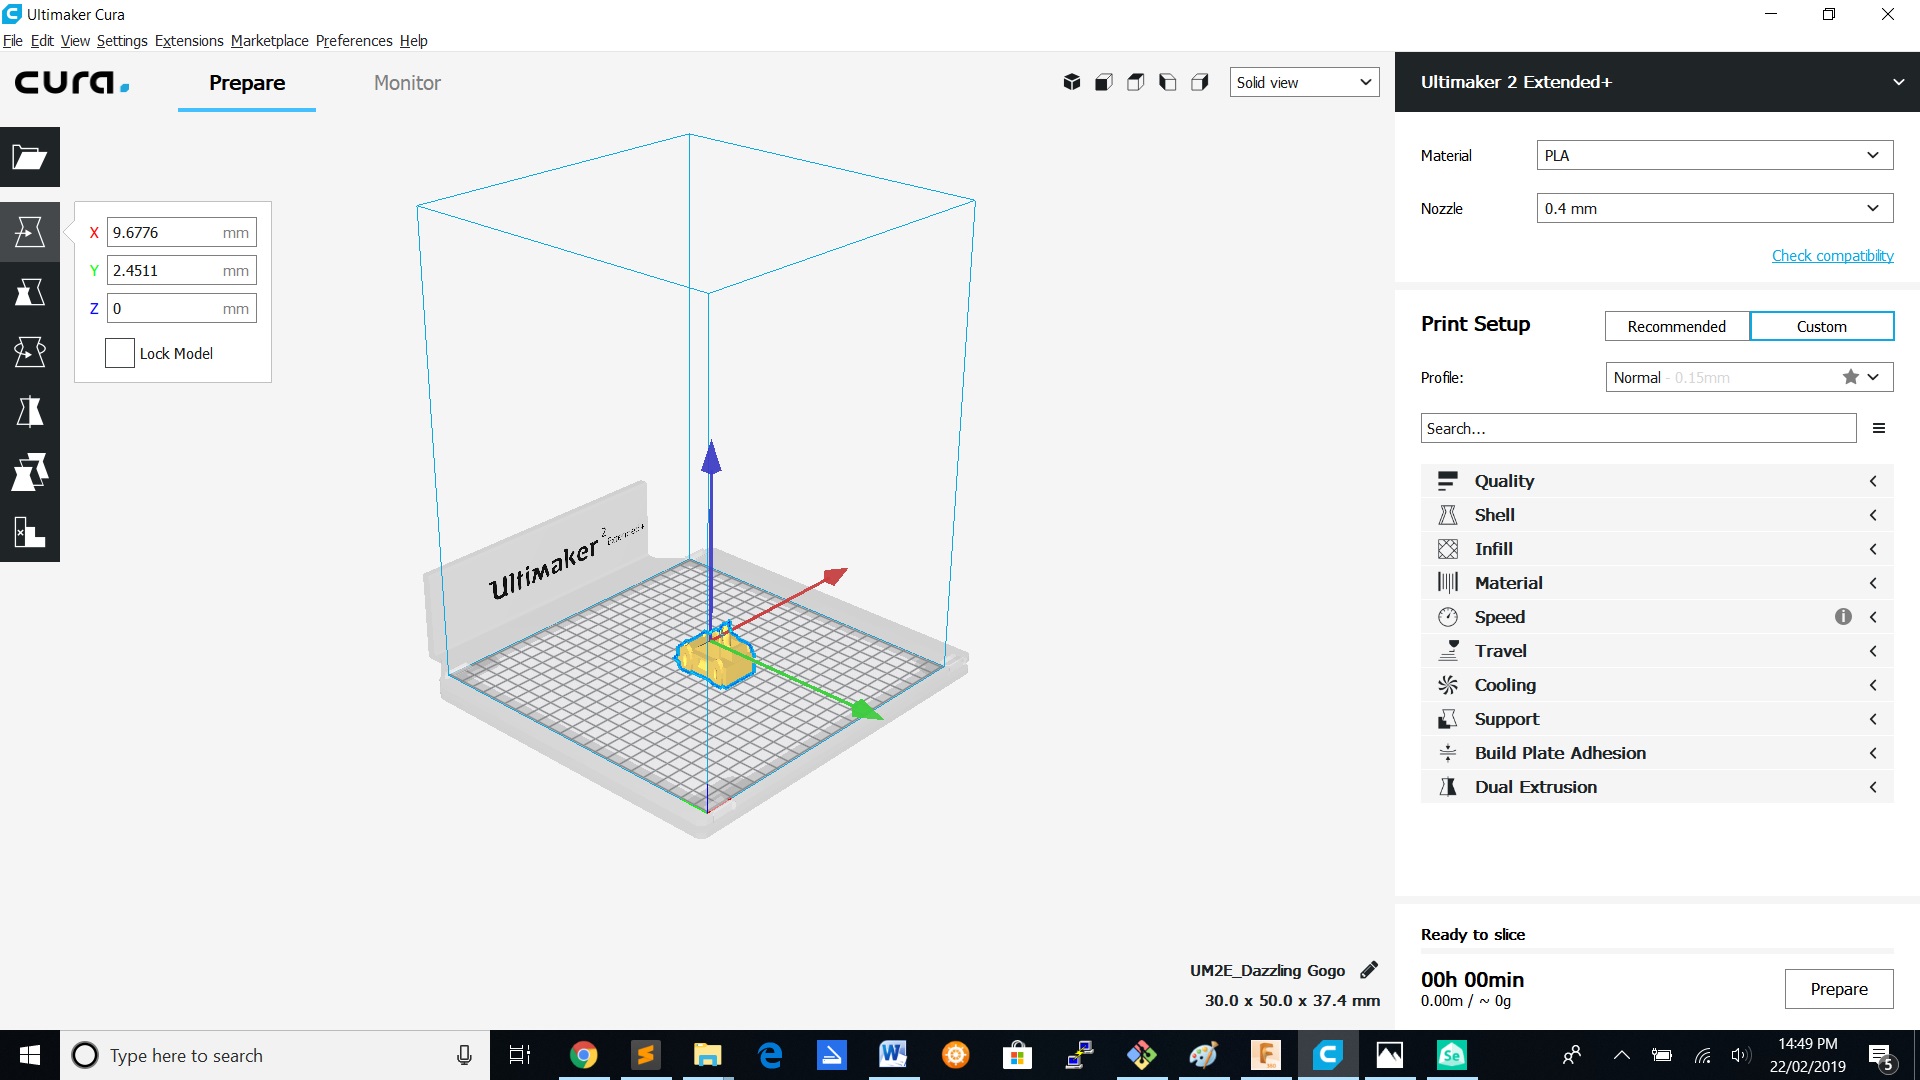
Download Cura and Open your .stl file.
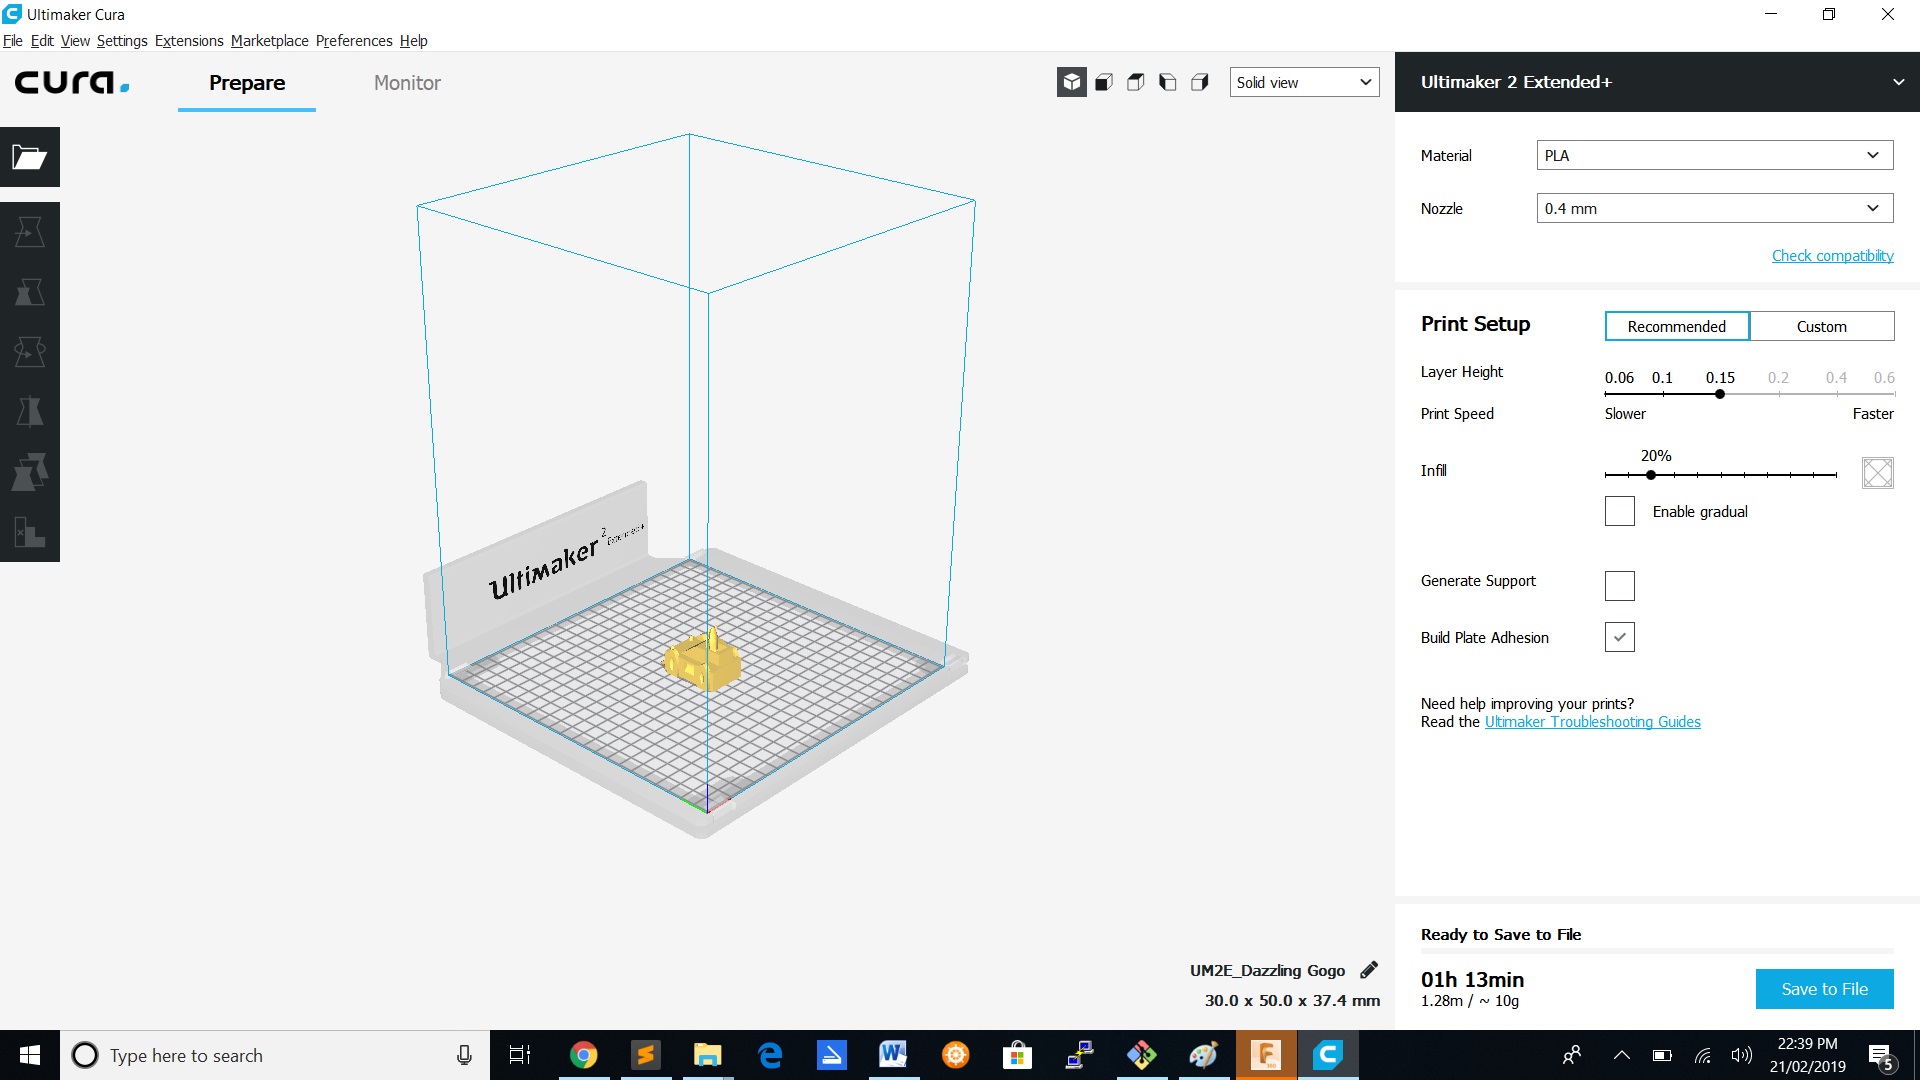
Adjust your print setup.This setup is the recommended setup.
The custom setup.
Printing process 1
Printing process 2
Printing process 3
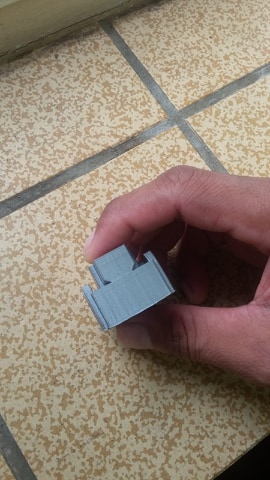
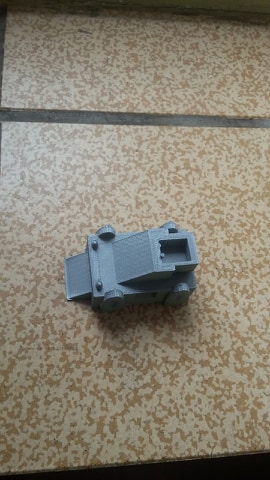

After 3D printing the design should look like this.
The advantages of 3D printing :
1.Complex design can be made easily
2.3D printing allows designers to make better decisions
3.The speed at which parts can be produced compared to traditional manufacturing methods
The disadvantages of 3D printing
1.Takes hours to print
2.Too much reliance on plastic
3.Has harmful emissions
3D scan steps
1.)Download sense setup
2.)Insert code 5204
3.)Tape the scnanner to the laptop
4.)Make two rounds when scanning
5.)Also scan on top of the head or object
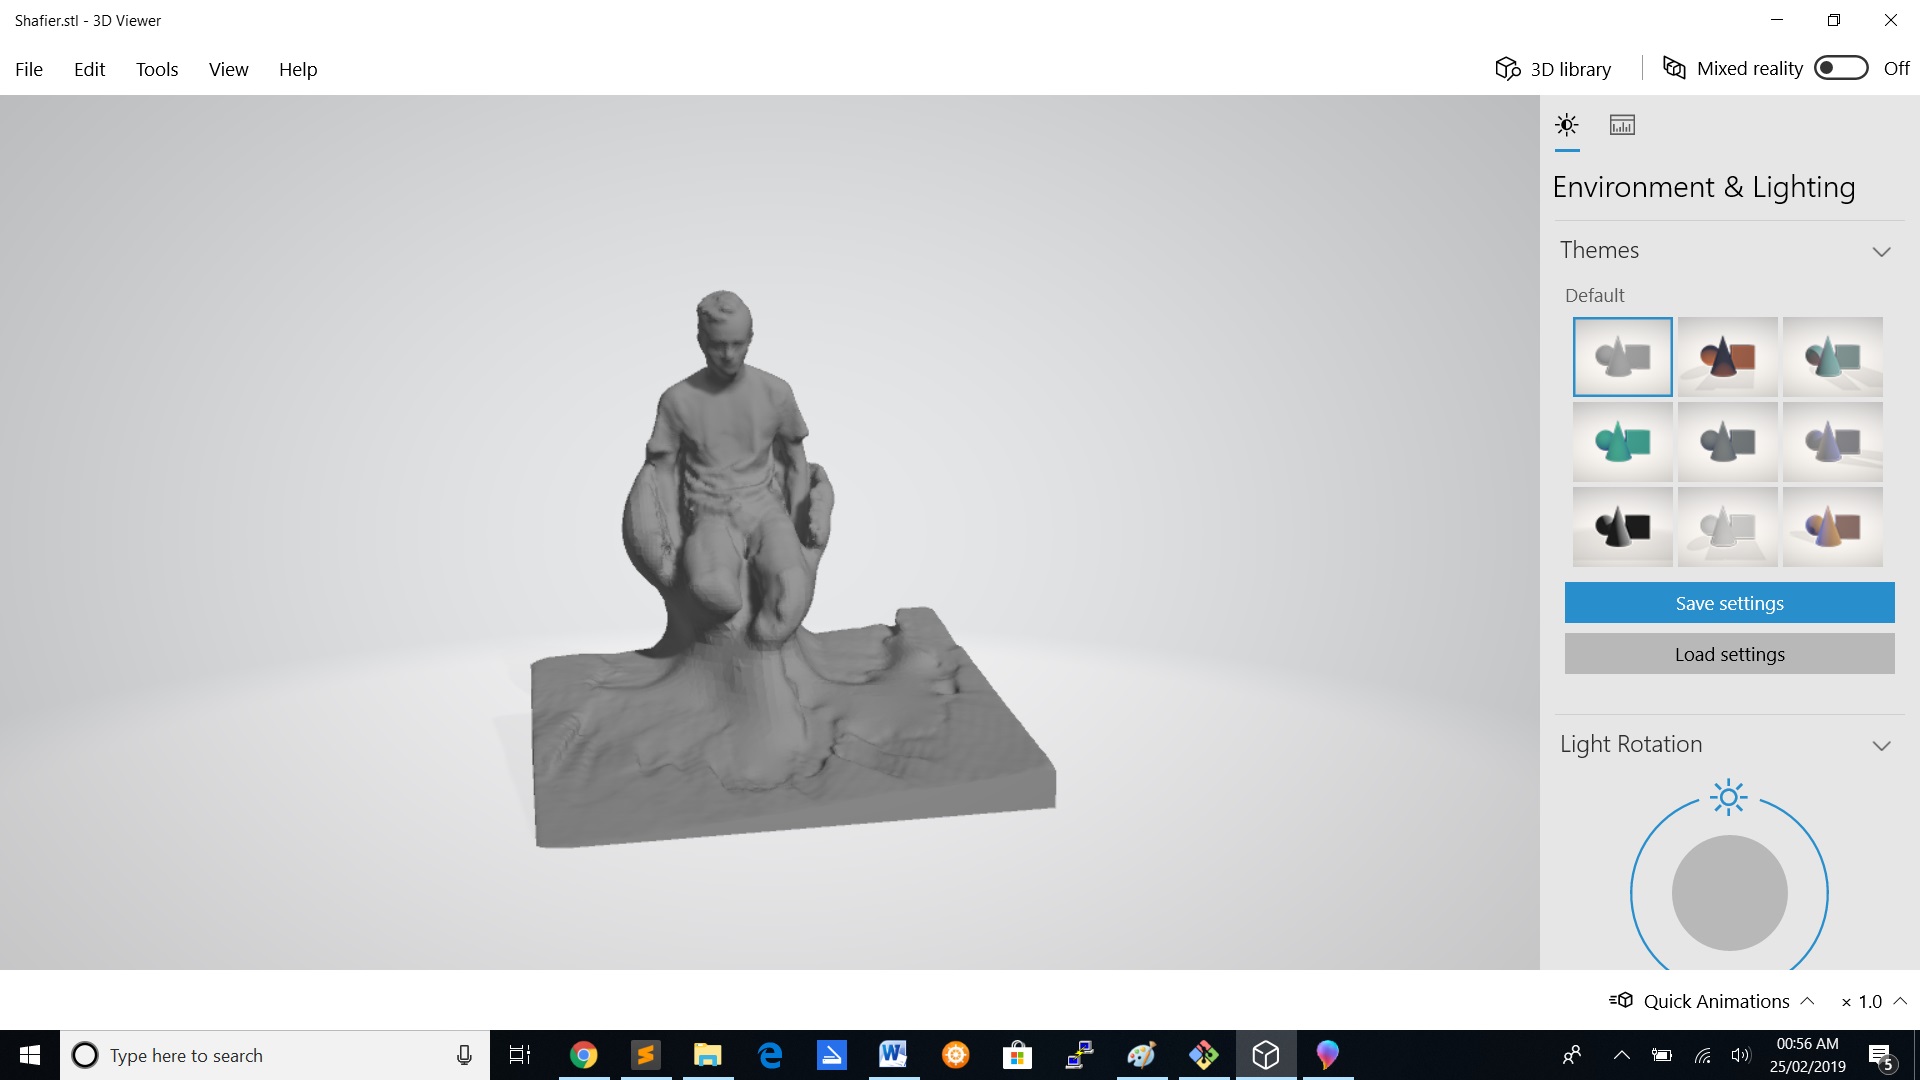
6.)Edit the scan
7.)Solidify your scan
8.)Click on setting
9.)Click out the color option
10.)Click on the edge and boundaries option
11.)Save file as .STL and insert into Ultimaker cura to print
*I didn't print my scan because we were in Frans guyana and it was time to leave to Suriname.
The advantages of 3D scanning :
1.Save time in design work
2.Quickly capture all of the physical measurements of any physical object
3.Utilize modern manufacturing on parts that were originally manufactured before CAD
The disadvantages of 3D scaning
1.The clarity of the image may not be the best
2.Non-contact 3D scanners can be very slow in scanning objects
3.Sensors may stop working due to failed connections
Files
3D Scan3D design